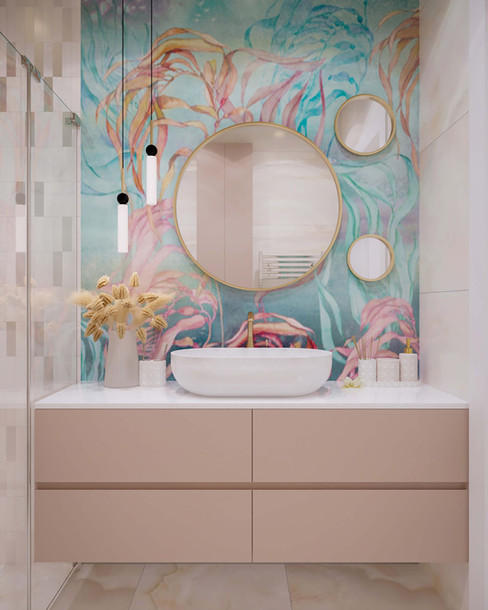
How to install a floating vanity
- mybettershelf
- May 25, 2023
- 3 min read
Is it as easy as it looks? In this article, we will guide you through the installation process: how to install a floating vanity, what tools you need, what is the right order of steps, tips and useful information to make your job easier. The result can be a bathroom you’ve been always dreaming about!
How to install a floating vanity
Important: you’ll need 1 or 2 persons for help, depending on the size and weight of the vanity. Remember: safety first, don’t try to lift something if it’s too heavy.
For this article, let’s assume you don’t do any renovation, the wall area, tiling and the essential plumbing is ready to use (there is hot and cold water access and also pipe for the drain water).
Tools and preparations
The floating vanity is, most of the time, a simple cabinet with a strong back panel that can be directly mounted to the wall. The following list will serve as a guide to perform the mounting without any problem:
The back panel should have pre-drilled mounting holes or hanging hardware, or if not, you should drill the holes for yourself, or mount hanging hardware onto it.
Use at least four points to attach the vanity to the wall - or even more, depending on the size and weight of the vanity.
Use strong screws that go into the wall minimum 3” deep.
Always use wall plugs according to your wall type (brick, concrete, drywall, etc.)
Use the right drill bit according to your wall type - if there is tiling on the wall, you will need to use special ceramics or glass drill bit to go across the hard surface.
Is it possible to install a floating vanity on drywall?
In the US, there are many houses with drywalls. However, that should not hold you back from having a floating vanity. It is recommended to mount it directly to the studs, this way it will provide a better support for the weight of the vanity. Not sure where the studs are? You can use a stud finder detector.
If the studs are not conveniently positioned or you cannot identify their location, you can still use drywall anchors for a stable mounting.
The steps for installing the floating vanity
In this guide, we show you how to install a mybettershelf floating bathroom vanity. The guide may work for most other wall-mounted vanities as well.
Remove the drawer from the cabinet. This way, you can reduce the weight of the cabinet for easier mounting, and also you can access the mounting points on the back panel.
Check the mounting points on the back of the cabinet. Measure your wall and mark these points on the wall surface.
Drill the holes. Make sure there is no water pipe and electrics in the wall where you drill the holes. When you have the holes, insert the wall plugs.
Have the cabinet held to the wall so you can drive in the screws. Start with the upper screws - when those are ready, those may be able to hold the cabinet and you can continue with the rest of the screws.
Make sure all the screws are secure and fastened.
Put the sink on top of the vanity. Optionally you can glue it onto the surface.
Install the plumbing (hot and cold water access) and connect the sink with the drain tube.
Put the drawers back and make sure it is well positioned on the soft-close slides. The U-shape drawer gives space for the tubes internally.
Do you need a custom-made floating vanity?
Finding the right vanity is not always easy, either because of the size or its construction. You may fall in love with a specific design but it is not available in a different size - or the size would be OK but it is not compatible with your preferred sink type. In such a case, it makes sense to check the possibilities of having a custom-made vanity that is made exactly for your needs.
We at mybettershelf are specialized in making custom vanities, especially floating vanities - you can customize the size, design, exact measurements so we can adapt the construction to your sink and faucet. Find out more about these services here.


